-
When to Use This Checklist
-
Step 1: Confirm the Datasheet Matches Your Process, Not Just the Model Number
-
Step 2: Check the Calibration Certificate Before You Believe the Accuracy Statement
-
Step 3: Verify Fitting Compatibility Before You Buy Adapters
-
Step 4: Measure the Physical Package with an Inside Micrometer Set
-
Step 5: Check Installation Requirements for Straight Runs and Orientation
-
Step 6: Test the Loop Before the Contractor Leaves
-
Notes From the Quality Side: Price, Time, and Total Cost
-
Common Mistakes I See Repeatedly
When to Use This Checklist
This is for anyone who needs to review an instrument specification before it goes on a purchase order or into a process line. It is not a full design manual. It is a checklist I use when I review products like Dwyer paddlewheel flow meters, Dwyer static pressure sensors, lab titrators, or basically any measurement device that has to meet a number.
I work in quality compliance at an industrial instrumentation company. I review somewhere around 180 items a year—maybe 200, I would have to check the QMS log—before they get shipped. The list below comes from actual mistakes I have seen, not from theory.
There are six steps. Step 4 is the one most people skip. Step 6 is the one that causes the most heartburn when skipped.
Step 1: Confirm the Datasheet Matches Your Process, Not Just the Model Number
Start with the product spec sheet. For a Dwyer paddlewheel flow meter, do not just check the pipe size and flow range. Check the wetted materials, the maximum fluid temperature, the minimum conductivity if it is a magnetic-inductive type, and the pressure rating at the actual operating temperature. Paddlewheel meters are forgiving, but they are not universal.
Same story for a Dwyer static pressure sensor. The range might say 0 to 10 inches of water column, but what is the overpressure limit? What is the media compatibility? Is the sensing element protected from condensation? If you are measuring static pressure in a duct with moisture, you need to know whether the sensor can handle it.
In my experience, roughly 30%—maybe 35%—of incorrect orders are not a model number error. They are a process condition error. The customer picked the right family of instrument but the wrong wetted material or range.
Step 2: Check the Calibration Certificate Before You Believe the Accuracy Statement
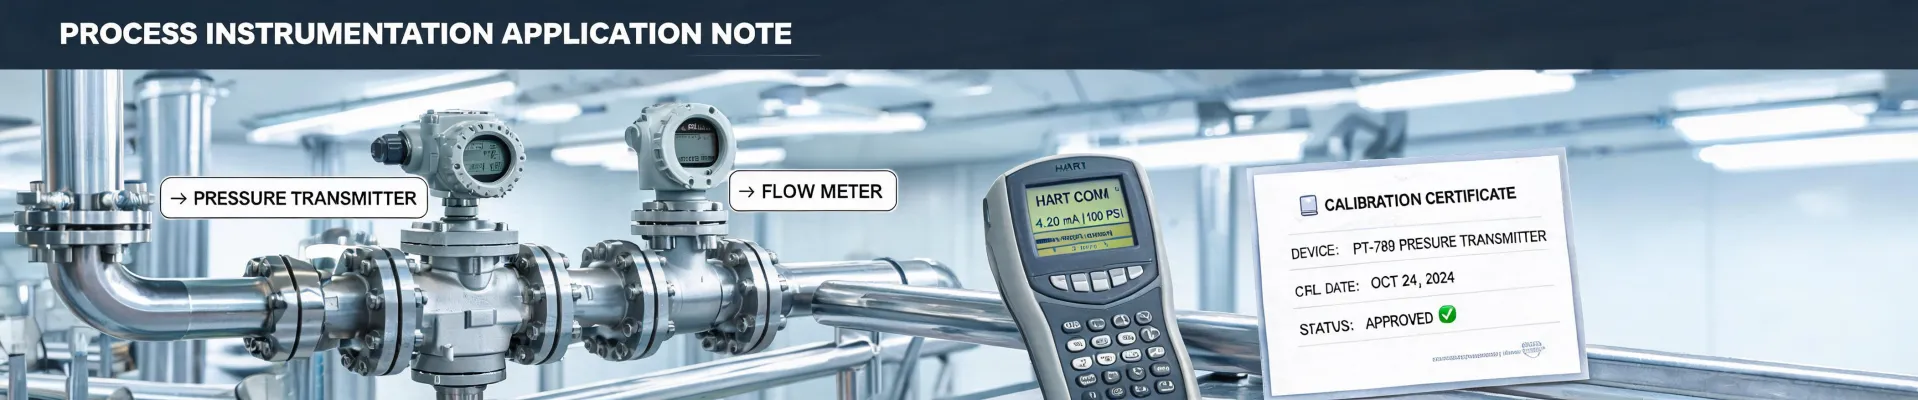
Every instrument should come with some evidence that it has been checked. For pressure and flow devices, that means a calibration certificate with actual readings, an uncertainty value, and a reference to a standard. If the certificate only says 'within tolerance,' ask for the data.
I once received a titrator from a service lab with a certificate that listed no standards, no test points, and no before-and-after readings. The final line said 'tested and found to be in tolerance.' That is not a calibration certificate. It is a promise. When I called the lab, they had to redo the entire test.
For field instruments, check the calibration date, the due date, and the traceability. In the US, 'NIST traceable' usually means the reference device used for calibration has a chain of documentation back to a NIST standard. If the supplier cannot show that chain, the accuracy statement is weak.
Standards matter here. For pressure gauges, ASME B40.100 defines accuracy grades. For temperature sensors, IEC 60751 defines platinum RTD tolerances. Know which grade you need before you compare quotes.
Step 3: Verify Fitting Compatibility Before You Buy Adapters
This step seems obvious, but it is where a lot of quality problems start. The mechanical connection has to match the process connection. Thread sizes, seal types, ferrule sizes, compression depth—all of it matters.
For example, if you are working with Agilent fittings for HPLC columns, it helps to know how Agilent fittings for HPLC columns work: the fitting compresses a polymer ferrule onto the column tubing as you tighten it. The ferrule wedges between the fitting body and the tubing, forming a seal. The tricky part is that over-tightening deforms the ferrule permanently. Once that happens, the fitting may not seal on another column. Under-tightening leaves dead volume, which shows up as peak tailing in your chromatograms.
So before you order adapters or replacement ferrules, decide whether you need a metal or polymer ferrule, what tubing outer diameter you are using, and what the manufacturer recommends. The same logic applies to process instruments. A Dwyer static pressure sensor with a 1/8 inch NPT connection will not thread into a 1/4 inch BSP port just because the thread looks similar. NPT and BSP threads have different angles and pitches. The gauge may start threading by hand and then jam halfway. I have seen that exact mistake cost a project an extra week and a $400 adapter set.
Step 4: Measure the Physical Package with an Inside Micrometer Set
Here is the step most people ignore. You can check all the electronic specs, but if the sensor does not fit in the physical space, you do not have a sensor. Put another way: you have an ornament.
When I review a new instrument, I measure the insertion length, the probe diameter, the mounting thread, and the clearance around the enclosure. For a paddlewheel flow meter, that means verifying the insertion depth relative to the pipe inner diameter. If you install it in a tee or weldment that is too shallow, the paddlewheel will not reach the flow stream and the reading will be inaccurate.
An inside micrometer set is useful when the bore or internal clearance is the critical dimension. For instance, a flow meter insertion fitting may require a minimum inside diameter of 7/8 inch at the tap. A caliper with a depth rod cannot always measure that reliably. An inside micrometer set with extension rods can. It is an old tool, but it still catches dimensional problems that no datasheet will show.
Do not trust the model number alone. I have been handed two supposedly identical sensors from different production lots that differed by 0.020 inch in probe length. The electronic specs were the same. The physical fit was not. We caught it because we measured. So glad we did—the first weldment had already been fabricated, and one phone call caught it before the pipe was cut.
Step 5: Check Installation Requirements for Straight Runs and Orientation
Even a perfectly calibrated instrument will read incorrectly if it is installed in a location that violates the flow profile.
For flow meters, the installation manual will specify a straight run upstream and downstream. A Dwyer paddlewheel flow meter typically needs five to ten pipe diameters upstream and three to five downstream, depending on upstream disturbances. If you cannot provide that, look for a different mounting location or plan on a flow conditioner.
For static pressure sensors, the port location matters too. A port on the side of the duct is usually fine; a port at the bottom can collect condensation; a port at the top can see moisture in some systems. Also consider the impulse line. If you use a long impulse line, make sure it is sloped and drained. The sensor will measure whatever is in that line, not the process air.
I see more field problems from installation conditions than from the instruments themselves. The instrument is usually fine. The installation is not.
Step 6: Test the Loop Before the Contractor Leaves
The final step is to verify the signal path, not just the sensor.
If the sensor outputs a 4-20 mA signal, check the mA reading at zero and at a known state. Loop test the cable, check the power supply voltage at the transmitter terminals, and confirm the input card in the PLC is configured for the correct range. A new 4-20 mA static pressure sensor will read 4 mA at zero pressure unless someone wired it into the wrong loop. It happens more often than you would think.
For lab instruments like a titrator, run a verification sample before you release it to production. A 100 mg/L standard should return something close to 100 mg/L. If it is outside the method tolerance, do not adjust the calibration blindly. Find out why.
After I approved a recent order of static pressure sensors, I kept second-guessing whether the housing rating was right. The units were fine. The three weeks until delivery were stressful anyway. That is the part nobody puts in the project plan.
Notes From the Quality Side: Price, Time, and Total Cost
Now for the part that is not in most checklists.
When I quote a project, I do not pick the supplier with the lowest price. I pick the supplier who can prove the instrument meets the spec, deliver when the project needs it, and provide the paperwork that the customer actually needs. That last one matters because the most frustrating part of a documentation problem is that it always surfaces right before startup.
From my perspective, the lowest quote is often the most expensive option. Here is an example from a few years ago. A vendor quoted $200 less per pressure transmitter than the brand-name option. We bought six, saved $1,200. Then the calibration certificates could not be verified, the housing had a crack in one unit, and the vendor took three weeks to send replacements. The contractor had to make a second trip, which added about $3,800 to the project. That $1,200 saving turned into a net loss. Looking back, I should have spent the extra money upfront. At the time, I was trying to protect the project budget. The project budget paid for it anyway, plus more.
The same principle applies to fittings and lab consumables. You can buy a cheaper knockoff version of an Agilent HPLC fitting, but if it does not seat correctly, you will spend hours troubleshooting leaks and retention time shifts. In a production lab, that time is money.
I am not saying the most expensive option is always correct. What I am saying is this: calculate the total cost of ownership. Include installation time, calibration documentation, lead time, and the probability of return. Then decide.
Common Mistakes I See Repeatedly
- Ordering a 24 VDC instrument when the loop power is 12 VDC. It may work, but not reliably.
- Ignoring media compatibility for chemical and moisture exposure.
- Using the wrong thread standard and forcing the fitting with tape or paste. Thread seal tape does not fix an NPT to BSP mismatch.
- Forgetting to verify that the calibration certificate is actually based on a non-expired reference standard.
- Skipping the loop test because the sensor is new, so it has to work. New does not mean wired correctly.
- Buying only on price, then wondering why the documentation and support are missing.
If this seems like a lot of steps, that is intentional. A few hours of checking before the purchase order saves weeks of troubleshooting later. At least, that has been my experience across a few hundred projects. I would rather reject a product at receiving than have the customer reject the entire process because of a bad pressure reading.