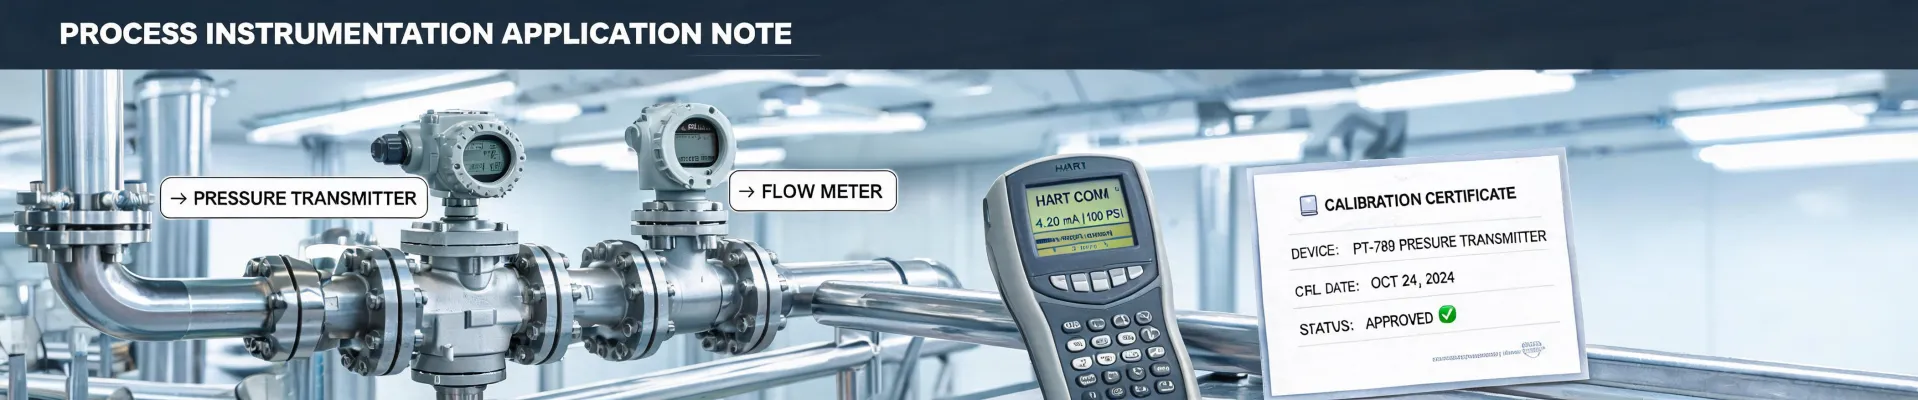
Most instrumentation failures are caught at receiving—not at startup
A 12-point receiving checklist catches roughly 80% of the instrument issues that would otherwise stop a job. I’m a quality/brand compliance manager at an industrial instrumentation distributor. I review every incoming shipment before it reaches customers—about 200+ unique items a year. In 2024, I rejected 14% of first deliveries because the spec didn’t match the paperwork. Not because the products were junk. Because nobody checked the right details early enough.
Bottom line: if you buy a DWYER differential pressure switch, fiber optic sensor, multimeter fuse, or digital caliper, five minutes of verification at receiving beats five days of rework after installation.
Five minutes of verification beats five days of correction.
Why I trust this approach—and where it came from
In our Q1 2024 quality audit, we found that most rejected items failed on configuration, not function. A DWYER differential pressure switch might power up and click, but the setpoint was 0.5 in. w.c. off from the order. A fiber optic sensor might light up, but the connector was dirty or the bend radius was too tight in the box. A multimeter fuse might be the right physical size but the wrong breaking capacity. And a digital caliper—including a Mitutoyo—might just need a reset after a battery change, not a repair.
The most frustrating part of incoming inspection: the same failures recurring despite clear specs. You’d think a purchase order with pressure range and electrical rating would prevent mismatches, but interpretation varies. So we built a checklist. It’s not fancy. It’s just the stuff that costs money when missed.
A receiving inspection process doesn’t need to be bureaucratic. Mine is aligned with ISO 9001:2015 clause 8.4 (control of externally provided processes, products, and services), but the actual checklist is one page. That’s enough for most industrial instrumentation orders.
The checklist that changed our reject rate
1. DWYER differential pressure switch: verify the boring details
DWYER makes a wide range of pressure, flow, level, temperature, and air velocity instruments. Their differential pressure switches are common in HVAC and process control. When a differential pressure switch dwyer arrives, don’t just check the box. Check:
- Setpoint and deadband: Confirm they match the engineered range, not just the catalog family.
- Pressure rating: Overpressure can ruin a switch even if normal operation looks fine.
- Electrical rating: AC vs DC, pilot duty vs full load. A mismatch here is a red flag.
- Process compatibility: Diaphragm material, wetted parts, and temperature limits.
- Mounting orientation: Some switches are position-sensitive. Check the install manual before you mount it upside down in a hurry.
This was true 15 years ago when a basic pressure switch was often a simple mechanical device. Today, many DWYER switches have tighter setpoints and more configuration options. The ‘if it clicks, it’s good’ thinking comes from an era when fewer variants existed. That’s changed. If the model number doesn’t match the application, that’s a deal-breaker.
DWYER also makes pressure transmitters, flow meters, humidity sensors, level transmitters, and temperature sensors. The same receiving principles apply: match the model number to the application, not just the product family.
2. Fiber optic sensors: clean, check, and respect the bend radius
Fiber optic sensors are not plug-and-play in dirty industrial environments. The most common issues I see are not sensor failures—they’re installation and handling problems. Check the connector ends for dust or scratches. Verify the amplifier is compatible with the fiber type. And actually measure the bend radius (think 20–30 mm minimum for many plastic fibers, but verify the datasheet). If the cable is crushed or kinked, the signal will be weak or intermittent.
Put another way: a fiber optic sensor that worked on the bench can fail in a cabinet if the fiber is routed like an afterthought. That’s not a warranty issue. That’s a routing issue. I keep a small fiber cleaning kit in the receiving area now (note to self: order more lint-free swabs).
3. Multimeter fuse: the $3 part that stops a $30,000 test
A blown multimeter fuse is usually a symptom, not the root cause. Before you replace it, ask why it blew. Check the fuse type, voltage rating, current rating, and breaking capacity. A multimeter fuse with the wrong breaking capacity can be dangerous—especially on high-energy circuits. If you’re replacing a fuse in a Fluke, Keysight, or any other meter, match the original spec exactly. Don’t substitute a glass fuse for a ceramic high-breaking-capacity fuse just because it fits.
Also: if the fuse blows every time you select a current range, stop. You likely have the test leads in the wrong jacks or you’re trying to measure current across a voltage source. That’s a no-brainer safety check that too many people skip. I’d rather lose a fuse than lose a meter—or worse.
4. How to reset a Mitutoyo digital caliper (and other digital calipers)
If a Mitutoyo digital caliper is acting up—flashing numbers, not zeroing, or showing an error—don’t assume it’s dead. The first step in how to reset Mitutoyo digital caliper models is usually simple:
- Replace the battery with a fresh silver-oxide cell, not a cheap alkaline.
- Clean the battery contacts with a dry swab or pencil eraser.
- Press the origin or zero button according to the manual.
- Check zero with a known gauge block or a clean, flat reference.
- If it still drifts, remove the battery for 30 seconds and repeat.
That sounds basic, but it solves a lot of ‘broken’ caliper tickets. I’ve seen a digital caliper replaced because the battery was low, not because the scale was bad. Note to self: keep silver-oxide batteries in stock and label them by size.
Where this checklist stops working
Prevention is not the same as perfection. Receiving inspection won’t catch a sensor that’s damaged by overpressure after installation. It won’t predict every environmental issue—humidity, vibration, chemical exposure, or EMI. And it won’t replace proper calibration. A DWYER differential pressure switch can pass receiving and still drift after 2,000 hours in a hot mechanical room. That’s why you still need a calibration schedule and a spare parts plan.
Also, not every vendor issue is fixable with a checklist. Some suppliers ship late. Some substitute parts without telling you. That’s why the checklist includes a contract clause: any substitution requires written approval. It’s not about blaming suppliers. It’s about making expectations clear before the box shows up.
There’s something satisfying about catching a bad batch before it hits the shop floor. After the stress of a rushed HVAC retrofit, finding a mislabeled differential pressure switch at receiving—that’s the payoff. The best part of a systematized receiving process: no more 3 a.m. worry sessions about whether the order will work when it lands.
What I’d do differently next quarter
I’m adding two things to the checklist: a photo log of every incoming DWYER differential pressure switch label, and a quick fiber optic sensor connector inspection under magnification. The photo log takes about 30 seconds per shipment and has already helped with one warranty claim. The magnification check caught a scratched ferrule that would have cost us a callback.
I’m also going to push our calibration team to document drift rates for the switches we install in high-vibration areas. That’s not a receiving issue, but it affects whether our prevention plan is actually working. Prevention is cheap. Blind spots are not.
Prices and lead times vary. Verify current DWYER specifications and availability with the manufacturer or an authorized distributor. As of January 2025, the checklist above reflects our internal quality process; your tolerances and safety requirements may differ.