If you landed here because you googled “can thermal cameras see through walls flir,” here’s the short answer: no. A FLIR camera—or any thermal imaging camera—detects heat on surfaces, not what’s hiding behind a wall. After 11 years of HVAC and process instrumentation work, I've personally made and documented 14 significant instrument mistakes, totaling roughly $27,000 in wasted budget. Now I maintain our team's pre-purchase checklist. The lesson that cost me the most? Trusting a shortcut instead of the right measurement—whether that means expecting a thermal image to see through a wall, ignoring a calibration schedule, or waiting for a Dwyer CO2 sensor to arrive after the cheap alternative failed. Whether I’m picking a Dwyer CO2 sensor, a Dwyer humidity sensor, a Magnehelic differential pressure gauge, or a clamp meter, the principle is the same: use the tool that measures what you actually need to know.
No Thermal Camera Can See Through Walls—Including FLIR
Here’s the thing: thermal cameras read the infrared energy emitted by surfaces. Common building materials—gypsum, wood, brick, insulation—are opaque to those wavelengths. So the camera gives you a map of surface temperatures. It doesn’t show you the pipe, the wire, or the air leak hiding behind the drywall. FLIR makes capable thermal cameras; their own technical material, as of January 2025, says the same. If someone claims thermal imaging can “look through walls,” they’re selling a movie plot, not a measurement tool.
A thermal camera tells you where to look. A calibrated sensor tells you what is true.
Now for the nuance. A hot pipe behind a thin wall will warm the wall surface, so a thermal camera can sometimes reveal a faint outline. That’s not seeing through the wall; that’s heat conduction changing the surface temperature. If there’s insulation in the wall, or if the object is close to the same temperature as the wall, you won’t see anything. So, no, a FLIR camera can’t see through walls, but it can give you clues—if you understand the clues.
What a Dwyer CO2 Sensor Taught Me
In October 2022, I was called to a lab where staff kept complaining about stale air. The facility manager used a thermal camera to show that the supply diffuser was cold, so “airflow was fine.” Then I installed a Dwyer CO2 sensor in the center of the room. It read around 1,150 ppm; outdoor baseline was about 420. That 730 ppm differential is above the rough 700 ppm trigger in ASHRAE guidance (Standard 62.1-2022; check for the current edition). The diffuser was cold because the exhaust damper had failed shut. The thermal image hadn’t shown a blocked damper.
That sensor didn’t cost much, compared to a thermal camera. But it answered a question a camera can’t: “Is the air actually acceptable in the breathing zone?” I’ve kept a Dwyer CO2 sensor on my kit list ever since. Not because it’s magic, but because it gives you a specific number for a specific question.
Dwyer Humidity Sensors and the Dust Factor
Humidity is another story. A warehouse called about corrosion on stored goods; three wall-mounted sensors in the same bay disagreed by 20% RH. My first instinct was to blame the sensors—or rather, to blame whoever didn’t calibrate them. After we brought in a reference hygrometer and waited for the readings to stabilize, the Dwyer humidity sensor in the group was within 2% RH of the reference. Another unit’s probe filter was clogged, so it was measuring moisture trapped in the dust, not the room air. The sensor wasn’t bad; its sample path was wrong. Put another way: even a good sensor only works if you protect its inlet and schedule calibration.
I still remember being surprised by that result. Never expected the “obvious” culprit to be a dirty filter. Turns out the cheapest fix was the least sexy one: clean the probe, check the filter, recalibrate. Now our preventive maintenance list includes checking Dwyer humidity sensors for contamination every six months.
The Clamp Meter Mistake That Cost Me a Day
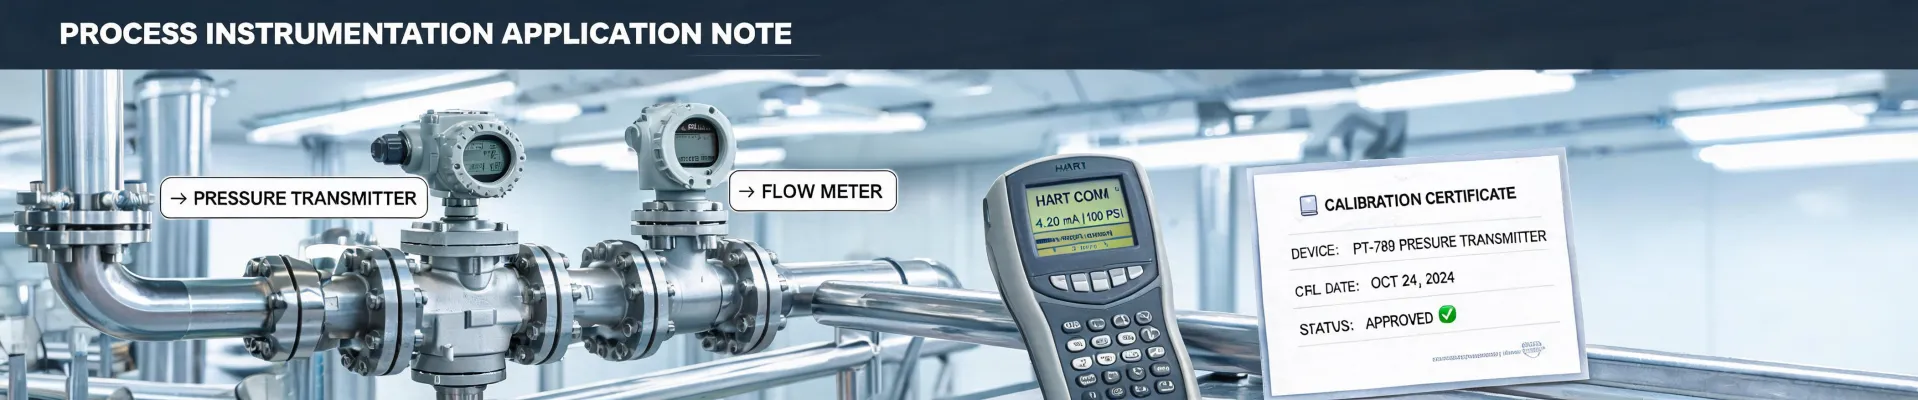
Now for the clamp meter. I use one almost weekly, but in March 2024 it made me look like a rookie. A pressure transmitter was reading high on the control screen. I put a clamp meter on the 4-20 mA loop—or rather, on the wire I assumed was the signal wire—and read 12 mA—well, 12.1 mA, close enough to confuse me. I converted that to “about 6 psi” in my head and spent three hours checking wiring, grounds, and the PLC input card. The transmitter range was 0-100 psi, not 0-25 psi. 12 mA is 50% of span, so it was reading about 50 psi. The actual pressure was 41 psi. The sensor was fine. The clamp meter was fine. My assumption about the range was not.
That mistake cost about $900 in labor and a full day. What I mean is, a clamp meter gives you a number, but the number doesn’t include the configuration. If you work with instruments, always confirm the range before you diagnose the transmitter. Pull out the tag sheet, call the office, or check the datasheet. It’s boring, and it works.
The Checklist I Use Now
After repeating the same kinds of mistakes, I made a short checklist. Now I maintain it and use it before every order. It won’t make you a better engineer, but it will keep you honest.
- Write down the physical measurement you need: pressure, flow, CO2, RH, temperature, current. Don’t start with vendor names.
- Confirm the range, power supply, output type (4-20 mA, 0-10 V, Modbus, or a simple relay contact).
- Check the environment: dust, humidity, chemicals, conduit requirements, probe filter, mounting location.
- If someone else is describing the installation, make them repeat the location. I once heard “I need a CO2 sensor for a duct,” and the order came back with a wall-mount sensor. Communication failure.
- If it’s a 4-20 mA loop, use a proper loop calibrator or multimeter set to mA. A clamp meter can help, but only after you know the range and the wiring.
- Plan calibration from day one. A $500 sensor with no calibration schedule is worse than a $100 sensor with a NIST-traceable record.
Paying for Certainty
One more thing: time certainty matters in ways that don’t appear on a spec sheet. In February 2024, a client moved a shutdown window up by a week. We paid $180 to expedite two Dwyer humidity sensors and a pressure transmitter. To some buyers, that looks like wasting money. I looked at it differently: missing the shutdown window would have cost roughly $4,800 in budgeted labor plus the risk of rescheduling a contractor for weeks. The $180 bought certainty, not just speed. There’s something satisfying about opening a box with the right part on the day you promised. After getting burned twice by “probably on time” promises, I budget for guaranteed delivery when the date is fixed.
Honest Caveats
I’m not saying thermal cameras are useless. I’m not saying every low-cost sensor is a disaster. I’m saying each tool answers a different question. A thermal camera is screening; a calibrated sensor is confirmation. If you need to know whether insulation is missing, use the thermal camera. If you need to know whether a space is safe to occupy, use a sensor with a valid calibration record.
Take this with a grain of salt: my numbers come from my own jobs, not a formal study. Prices change. As of January 2025, entry-level thermal cameras start around $250, and radiometric handheld models can cross $3,000. Check current listings before buying. And if someone tells you their FLIR can see through drywall, don’t argue. Just ask them to put a dollar bill behind the wall and prove it.